Shed demolition requires careful planning, the necessary tools and equipment, and responsible waste disposal. Knowing what to expect during shed demolition will make your shed removal faster, safer, and cheaper. Best way to find the Oxnard Demolition Contractor.
Start by clearing away non-structural elements like doors and windows. When possible, donate usable items to charity or recycle them.
Safety
Demolition projects involve large plants and machines in close proximity to on-ground workers; without proper planning or control, this can be dangerous. Therefore, it is recommended that a competent individual or group be assigned to inspect work areas on an ongoing basis to identify potential hazards, such as checking structural integrity and reinforcing machine cabs to safeguard workers onsite.
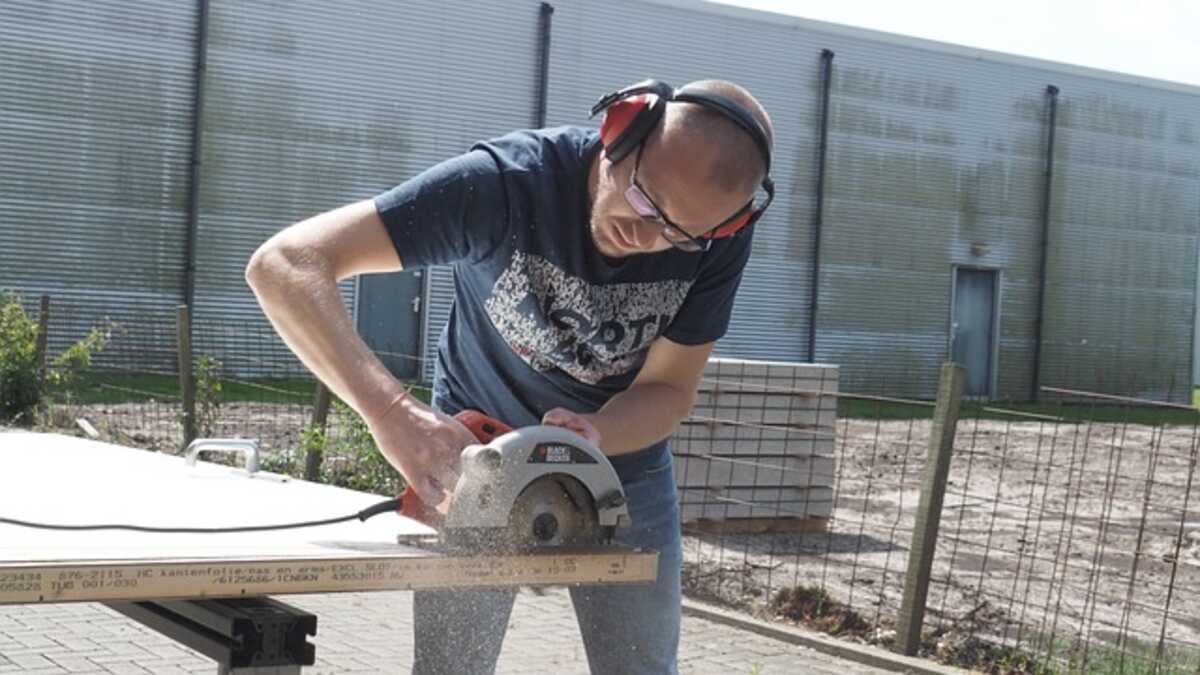
Before beginning demolition work, ensure all tools, machinery, and equipment are in working condition and have been cleaned extensively. A safety plan should also be created that includes hazard communication procedures and emergency evacuation routes; should hazardous materials like asbestos or lead paint be present, they will need to be dealt with appropriately and may need professional disposal.
Your first priority should be dismantling your shed roof. Use tools such as a crowbar or hammer to break apart joints systematically across its structure, using PPE to ensure all areas become evenly weakened as you work to break apart walls and decrease the stability of remaining ones. Involve a friend or two in helping stabilize the remaining walls as you work while considering using 2x4s to provide temporary support as necessary.
Preparation
Demolition and removal of sheds require planning, personal protective equipment, and professional disposal of hazardous materials. A demolition contractor can help manage this process from start to finish.
Before beginning work in any city, always first verify whether a permit is needed. Most municipalities do require them and will fine those without them if you fail to obtain one. You should also prepare the site by covering it with tarps for easy cleanup at the project’s conclusion.
Start by clearing away non-structural items from your shed, such as doors, windows, and shelving. Next, start dismantling its walls using tools like pliers and an adjustable wrench, if possible, before taking on dismantling the wooden walls themselves with reciprocating saws (be careful, though!).
Work together with someone to keep the structure from becoming unstable as you dismantle it. After the walls have been disassembled, focus on taking apart the roof; use crowbars or hammers if necessary to break it into smaller pieces if still attached to its frame; work slowly when disassembling this heavy load.
Disconnecting Utilities
Connections and attachments should be disconnected before beginning demolition work on any shed—this will save on costs while preventing accidents during its removal.
Electric and gas supply cables pose a potential safety risk during demolition projects, so it is wise to hire a professional service to disconnect them before work commences. To request the termination of services for demolition purposes, write to your utility provider; they’ll either organize this on their own or advise accordingly.
Before beginning demolition work on your shed, it is wise to remove doors and windows to make the task more straightforward and less stressful. When handling tools, be sure to wear appropriate safety gear, such as a hard hat, safety goggles, ear protection, and a dust mask.
After you’ve removed the doors and windows, it’s time to start disassembling the shed itself. Be methodical when dismantling it; start from the roof and move your way downwards towards the ground. Make sure any electrical cables are disconnected first by switching off power at your main switchboard or consumer unit in your garage.
Disposing of Debris
Once a shed has been dismantled, it’s essential to follow local disposal guidelines when disposing of its debris. This ensures a safe and responsible demolition process. For instance, segregating non-structural items from structural materials early in the demolition process helps reduce landfill waste while encouraging recycling efforts. Furthermore, early identification of hazardous materials—like asbestos or lead-based paint—helps ensure they’re handled appropriately before removal from the work site.
Final step? Creating an efficient plan for managing debris accumulation as it arises is also essential to success. Setting aside a dumpster or designating an area specifically for waste will help prevent confusion and increase efficiency when managing material accumulation.
Start by clearing away any non-structural items from your shed, such as windows, doors, and pegboards. Next, focus on dismantling its walls – starting with those closest to the door as these may be less structurally sound – using a sledgehammer and adjustable wrench and pliers to break it apart; remove connections with the floor using adjustable wrench and pliers before temporarily supporting any remaining structure with temporary supports if necessary. Repeat this step for each wall in your shed, always wearing appropriate PPE such as a hard hat, eye protection gloves, and a dust mask.