You may quickly build a beautiful stone wall in your home with the information and guidance provided here. This guidance applies to brick veneer, stone veneer, and artificial stone.
Investors, get ready:
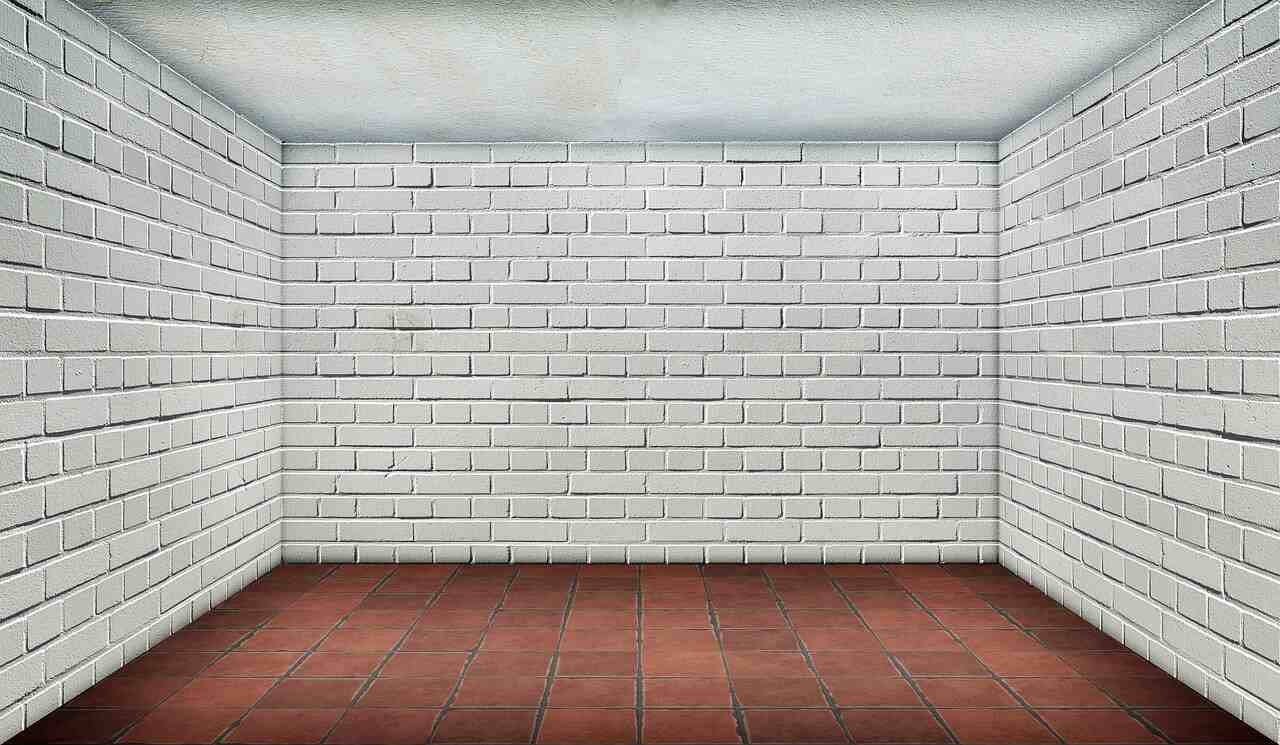
Stone can adhere directly to concrete block walls or unpainted brick walls without additional layers.
Apply tar paper to wood or drywall, working from the bottom up and overlapping the form by 4 inches. The report can be fastened with a stapler because the expanded metal lath will serve as the next layer. It’s recommended to start at the bottom and work your way up, with a couple of inches of overlap along the way. Nails or screws should penetrate the studs by at least 1.5 inches. One trick is using a washer with a pin or screw to secure the lath. Lath should be attached to every stud and no more than 8 inches apart. The strip can be dangerous if you don’t protect your hands.
Get Ready for the Surface:
Apply a half-inch mortar or scratch coat to the lath and let it dry for an hour. Use a coarse brush when applying the scratch coat to create grooves in the mortar, giving the subsequent layers something to grip. The recommended ratio for the cannon is 1 part type “N” cement to 2 parts mason sand. Add water until a putty-like consistency is reached. Stones can be set and grouted using this same recipe.
Making use of the stone:
Stone veneer may usually be trimmed or sculpted without any trouble. A circular saw fitted with a masonry blade, a wet saw, or a grinder equipped with a masonry cutting wheel or diamond edge can be used for cutting or shaping. Use a chisel and hammer to split the stone; tap it against the rock until it cracks.
Before affixing stones to the wall, spread between half an inch and three-quarters of an inch of mortar on their undersides. The mortar should squeeze out on the stone’s edges as you push it firmly into the wall, starting at the bottom. If stones move when you release your grip, your mortar is too thin and has to be thickened with more cement and sand. I discovered that masonry lime improved stone adhesion when added to the mix.
To keep the stones in place while the mortar dries, you can use wooden or plastic spacers as you build the wall up.
Avoid getting mortar on the stones’ aesthetic side by working carefully. For the best result, maintain them as spotless as possible.
Maintaining healthy joints:
After an hour, using a jointing tool or a rounded stick, push the mortar into the joints so it can dry. I’ve discovered that An old spoon or kitchen knife works well for this.
Following the preceding steps, clean the joints with the wire brush and the whisk broom and remove any extra mortar from the stone’s face.
Grouting:
Grouting the joints requires a grout bag, which you should now use. Create a somewhat liquid mortar and fill the bag halfway. Roll the bag and squeeze the mortar with your other hand to force the mortar into the cracks. There shouldn’t be a hole larger than 34″ in the bag.
If you can’t grout the stones the same day, leave them clean and remove any mortar from the face of the rocks with a wire brush before it solidifies.
Advice that can be used when laying stones:
Before trimming smaller stones to fit, you should have the bigger ones on the wall.
Above eye level, the cut edge of the stone should face up, and below eye level, the cut edge should face down.
If you keep the stones close together and the joints tight, your wall will look better.
Use contrasts in size, color, texture, and shape to enhance the overall appearance of your stonework.
The joints between more than two layers of stones should not form a straight line.
You could try adding some color to make the mortarless noticeable between the stones.
It’s crucial to work cleanly, so wash your hands after handling stones and brush off any mortar that drips out.
Have fun with your brand-new fence!
Thanks to his extensive knowledge, Forrest is ready to lend a hand at [http://www.callDIYhelp.com]. Join us on Facebook, and let’s get to know each other better.
Read also: How to Overcome Changes During Your Home Restoration Project