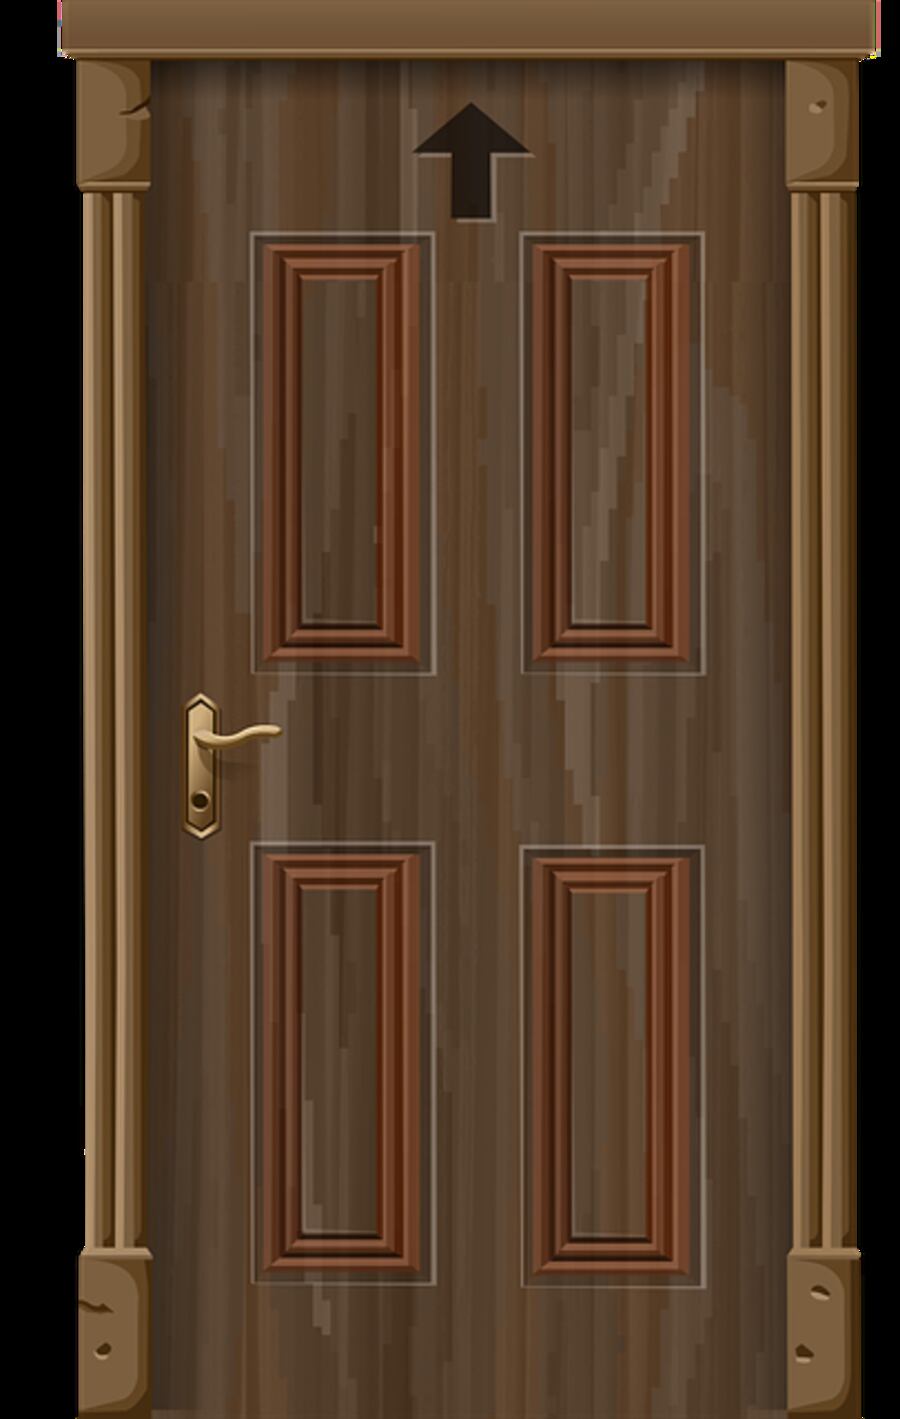
If you’re a minimalist who loves clean lines, you might like the way wooden doors look on the outside of a home. They are level, straight, and uncomplicated. But if you want your home to reflect your unique individuality, plain doors won’t cut it. You should know a nice little secret if you ever need to spruce things up a bit. Exterior wooden doors can look like works of art with only a tiny bit of ornate molding. And you can achieve the same level of sophistication at a fraction of the cost of installing brand-new doors. You can do this with just a miter saw some wood glue, and a piece of flat trim molding. Let me show you the ropes.
Taking Off the Doorways
It would be best to take the doors off their hinges first to begin your DIY masterpiece. A hammer and chisel can tap the pins up and out to accomplish this. To avoid having the door fall while the hinges are being removed, have a friend help you out. You can achieve this yourself, but it’ll go more smoothly if someone helps. Put the door down in your workspace now. Turn it so the front is showing.
Panels Need to Be Measured and Labeled
Determine the precise location of the door trim using the tape measure and pencil. If you choose, four or six squares (or eight or twelve) are needed to measure a standard wooden exterior door with panels. To avoid blocking the doorknob, the meetings should begin three to five inches from each edge of the door.
Check the Size of the Mold
The molding must now be measured and cut to size. In this case, “measure twice, cut once” couldn’t be more appropriate. Make a note of your panel measurements and verify their accuracy. Mark the inside of the molding with a pencil to indicate the cutting line. Don’t use anything that will leave scuffs or scratches on your newly-finished wooden outside doors.
Reduce the Profiles
Cut the molding with the designated side facing the miter saw’s blade. Put the mark under the knife and tilt the blade at a 45-degree angle. The time for elimination has come. Turn the edge around and repeat the process on the other side. In either case, it needs to be tilted to an angle of 45 degrees. Repeat the last cut. If this is your first time doing it, it’s a good idea to have some additional molding available in case of missteps.
Put Together Your Wallboard
Put a bead of wood glue on the bottom of the molding you’ll be working on first. Remember that even a modest contribution can have a significant impact. You should use wood glue sparingly since too much can destroy your creation. Attach the slashed section to rest flush with the door, as indicated by the pencil mark. After you’ve finished one square’s worth of molding, spend the rest of the boxes. Wooden outside doors start to seem paneled quite soon.
Closing Details
You’ll need to wait at least a day for the glue to dry before you can paint or apply any other finish. Of course, you’ll need to wait for the paint or finish to cure before hanging the door.
If the property you bought has boring wooden outside doors, it doesn’t mean you’re stuck with them forever. It won’t break the bank to replace them. This do-it-yourself tutorial will show you how to make your doors look like they have paneling already installed. Your visitors won’t notice, and you’ll have more cash available for the rest of the home improvements on your list. Adding these simple ornamental accents to your wooden exterior doors is a terrific idea if you already intend to paint them.
Find out what you can achieve with outside wood doors and your creativity.
Read also: Environmentally Friendly Construction and Renovation